Provide an additional layer of validation and recognition to your employees with our new Certificates feature. This enhancement not only solidifies the learning experience but also offers tangible proof of their progress and achievements.
Table of Contents
Why Use Certificates?
Certificates serve as a testament to the efforts and learning of your employees. They not only boost morale and motivation but also provide a tangible record of training and skills acquired:
- Recognition of Effort: Recognize your employees' hard work by providing them with a Certificate at the end of a Journey.
- Tangible Proof: In scenarios like compliance training or specific skill acquisition, Certificates can be used to verify that an employee has completed and understood the required material.
- Customization: Reflect your company's branding and specifics on the Certificate, ensuring it aligns with your organizational standards and aesthetics.
- Expiry Dates for Periodic Training: For training that requires periodic refreshers or compliance checks, adding an expiration date ensures that employees are reminded to retake the training.
How-To Guide: Creating and Customizing Certificates
Follow the steps below to seamlessly create and customize Certificates for your learning Journeys:
Step 1: Accessing Certificate Manager
- Navigate to the Journey you wish to edit.
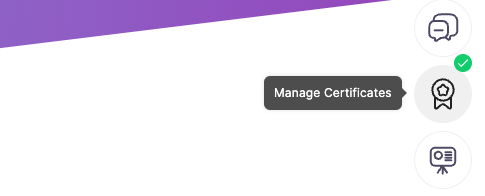
- While in edit mode, locate the "Manage Certificate" button on the right side of the screen.
- Click on the Certificates icon to open the Certificate Manager.

Step 2: Choosing a Template
- The first window to appear will be the template center, showcasing a variety of Certificate templates.
- Browse through and select the desired template.
- Once selected, click on the blue "Next" button on the bottom right to proceed.
Step 3: Customizing the Certificate
-
General Information: On the left side, you will find options to edit the general information of the Certificate. Here, you can change:
- Title of the Certificate
- Secondary title
- Description
- Unit title (Name of the Journey)
💡Maintain brand consistency with official colors, fonts, and logos for a professional touch.
-
Add Company Logo: Below the general information, there's an option to upload your company's logo, ensuring brand consistency on the Certificate.
-
Expiration Date: If you want the Certificate to have a validity period, you can set an expiration date. This date will be displayed on the Certificate, reminding the holder of any potential renewals or retraining needed.
-gif-2.gif?width=688&height=336&name=ezgif-com-video-to-gif%20(1)-gif-2.gif)
Step 4: Advanced Editing Options
On the top right, you'll find additional editing options to further tweak the appearance of your Certificate:
- Orientation: Rotate the Certificate view from landscape to portrait, based on your preference.
- Upload Background: If you want a unique touch, you can upload a custom background for the Certificate.
- Border Colours: Adjust the border color to align with your company's theme or the specific Journey's theme.
- Text Colour: Customize the text color to ensure readability and aesthetic appeal.
With these steps, you can effortlessly design, customize, and issue Certificates that resonate with your brand and the importance of the Journey undertaken by the employee.
Step 5: Deleting a Certificate
If you ever regret adding a Certificate to a Journey and wish to remove it, the process is straightforward:
- Navigate to the Journey containing the Certificate you wish to delete.
- Click on the Certificate's icon.
- Above the Certificate you created, you will notice a "bin" icon.
- Simply press the "bin" icon to delete the Certificate.
Need help?
