
Creating channels for sharing content with others provides a dedicated space to communicate and share knowledge efficiently and effectively.
In this article you will read how to:
Create a channel
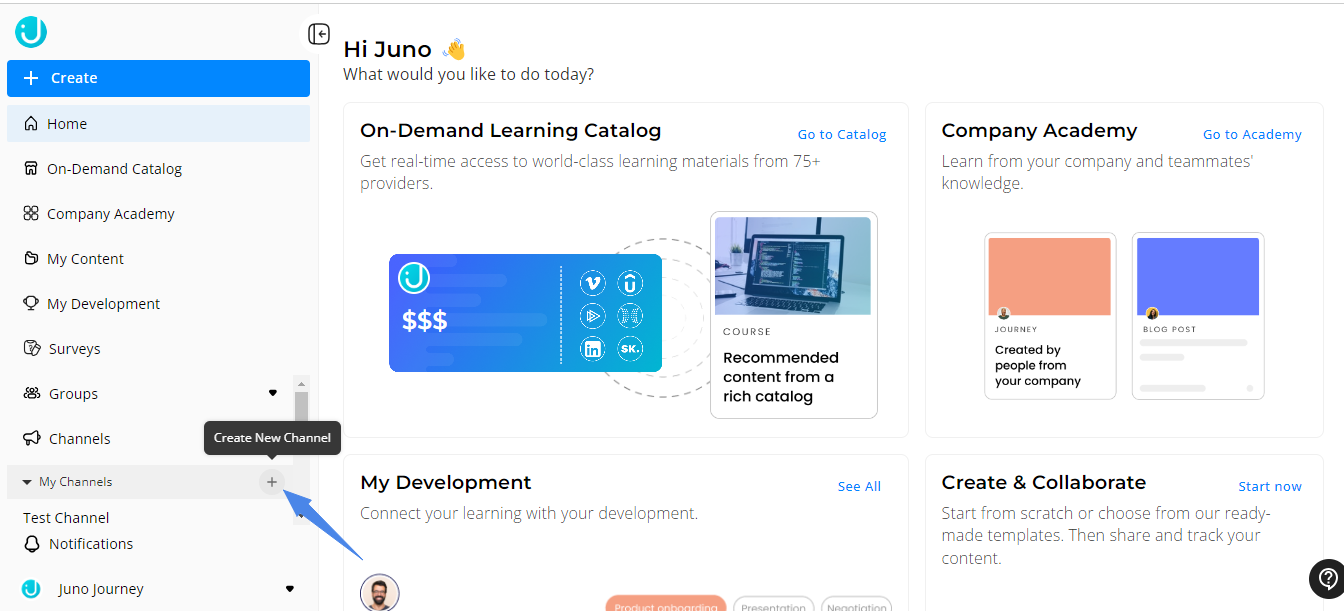
Start by creating your channel.
- Click on the + icon under the Channels tab on the left side menu of the screen.
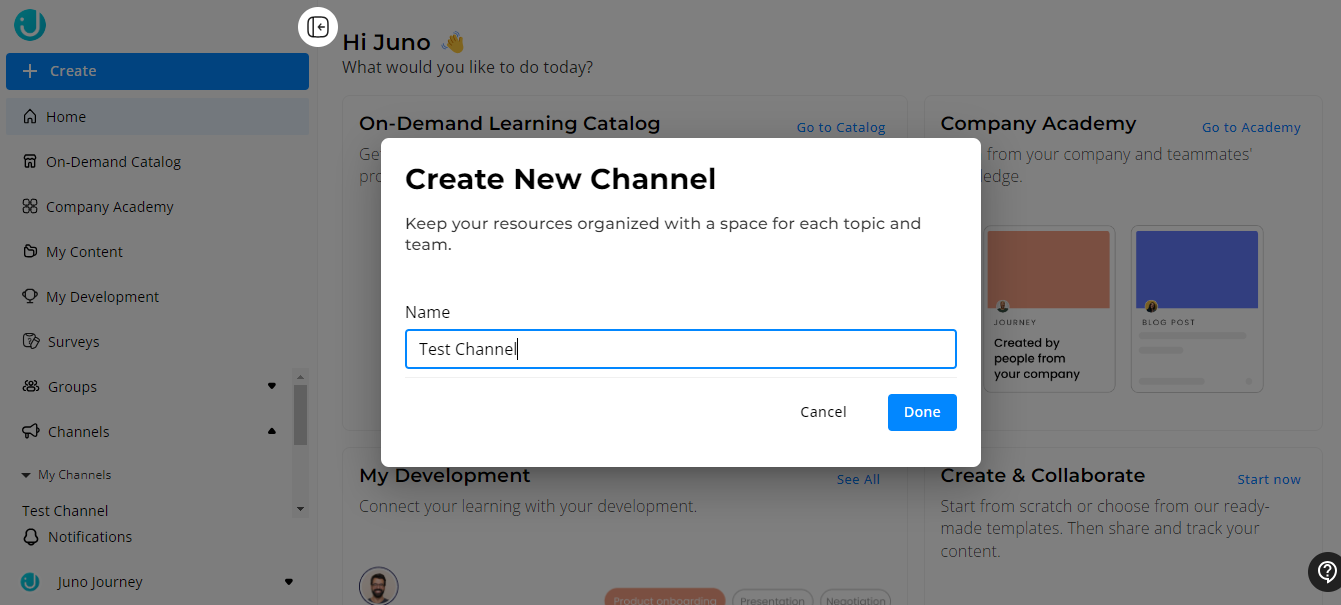
- In the newly appeared pop-up window, enter the Name of your Channel, and click Done
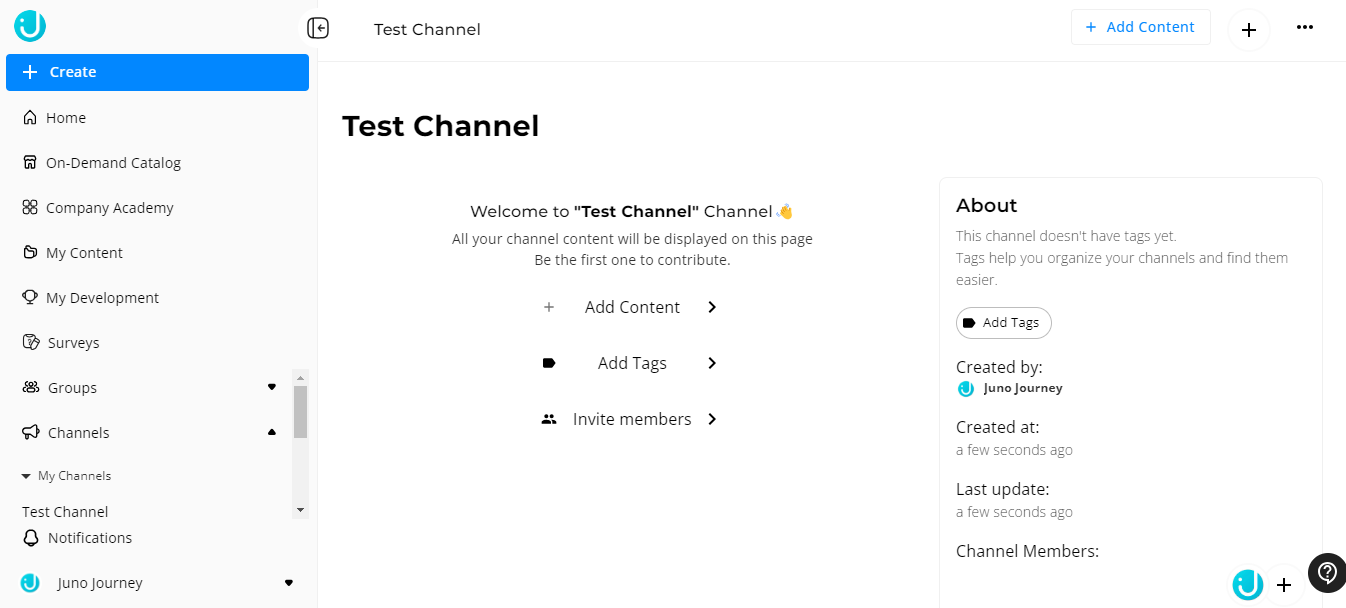
- Edit your channel by adding Content, Tags, and Invite Members to the channel as well.
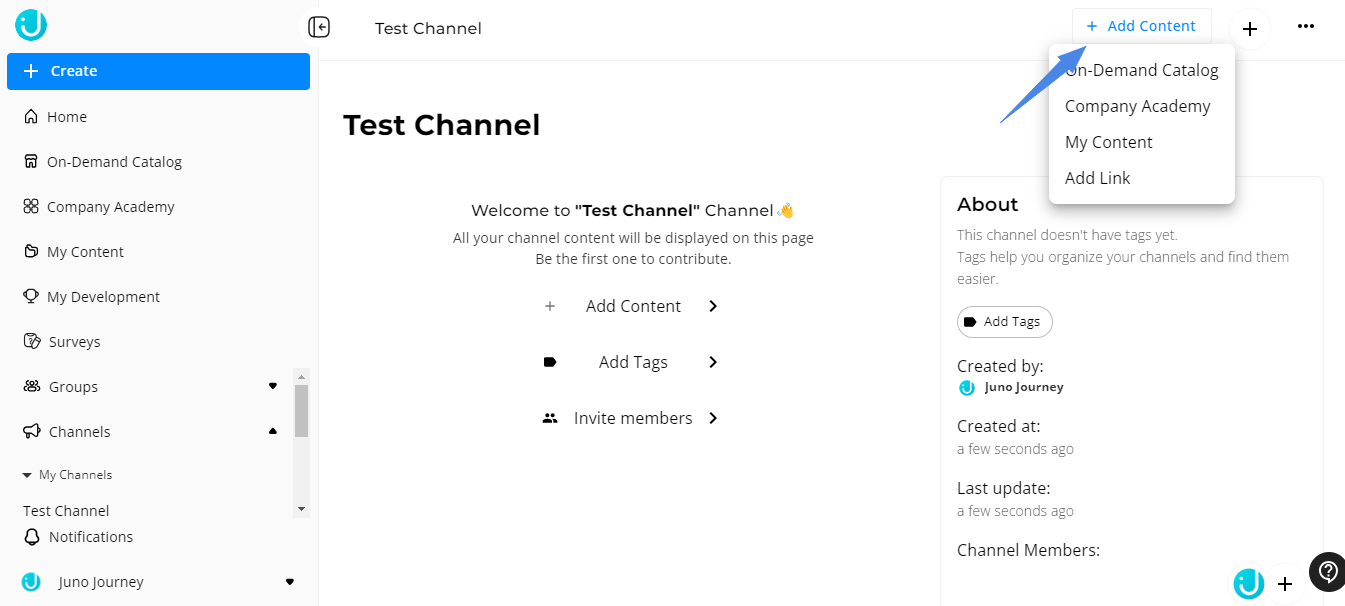
Add content to your channel.
You can add content via the On-Demand Catalog, Company Academy, My Content, and Add link.
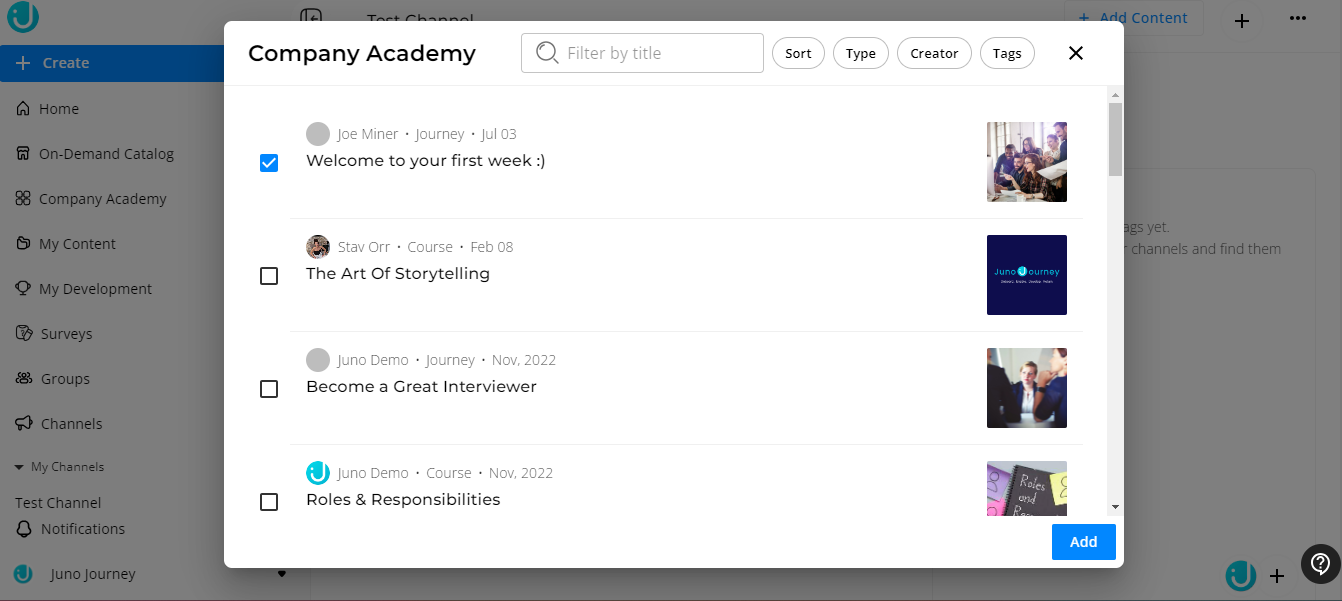
Add content from the Company Catalog.
- Click on the icon for your Company Catalog (Juno LMS in our case). A pop-up window appears on your screen.
- Tick the box of content you want to add and click Add
Add content from the My Content
- Click on the icon My Content. A new pop-up window appears on your screen
- Tick the box of content you want to add and click Add
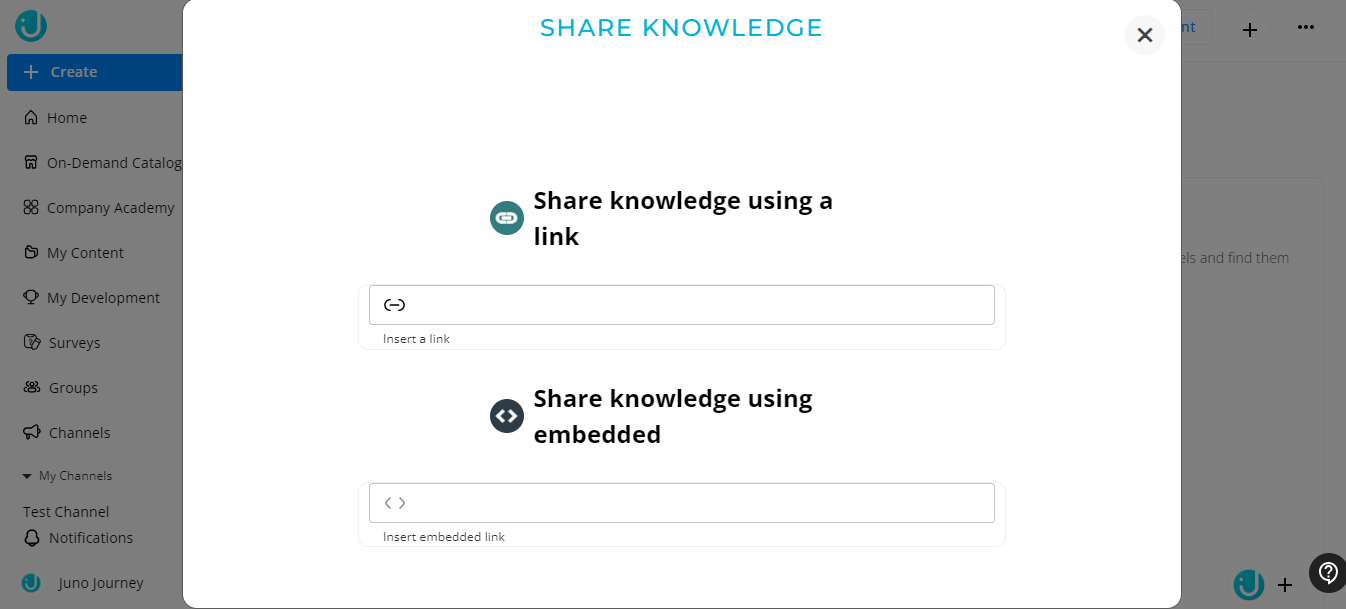
Share content using a link
- Click on Add Link. A new pop-up window appears on your screen
- You can Insert a Link or use an Embed Code
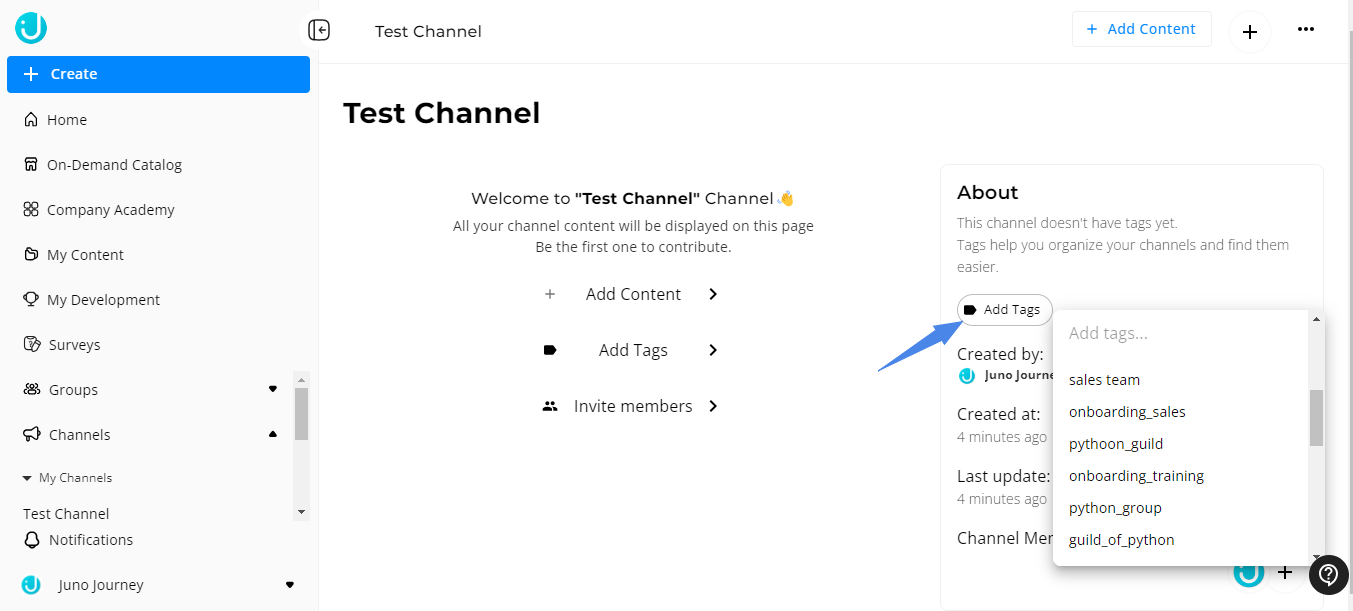
Adding Tags to your channel
- Click on the Add Tags button, and a drop-down menu with different tags will appear.
- Select one or more relevant tags from the list
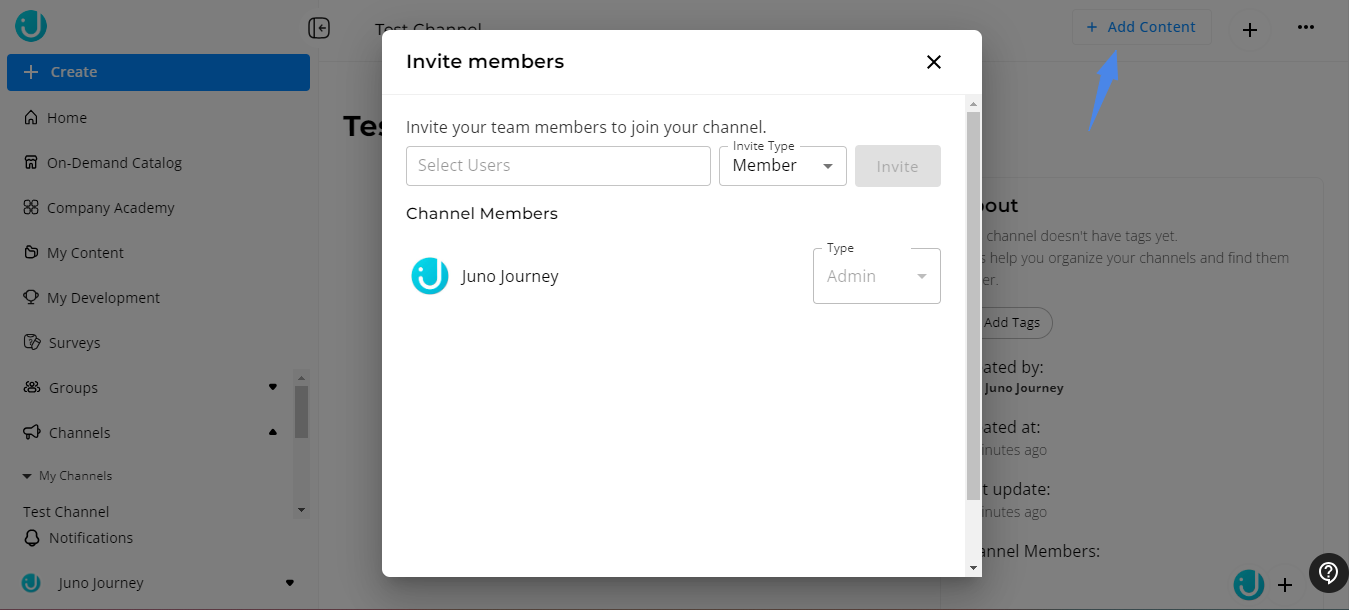
Invite members to your channel
- Click on the + icon and a new pop-up window will appear
- Select the groups or individual users you like to add as members
- Select the Invite Type (Members or Admin) and click Invite
The invited users will receive a notification asking them to join your channel. They can decide to accept or to refuse. You will be notified of their decision.
Explore channels from your company academy
At the top of the company academy, each user will now find a curated list showcasing both their private channels and the company's public channels.
Each channel is represented by a card that highlights the channel's name alongside the total number of learning materials it contains.
To help you navigate through the wealth of knowledge available, we've thoughtfully arranged the channels in descending order based on the volume of content they offer. Dive in and explore the channels to find new opportunities for growth and learning!

With just one click on the channel's name, you are taken to a brand new channel page where you can see all of the internal content within the channel.
On this page, you can also find:- A search bar that searches within the channel
- Options to filter and sort through content
-
- Filter options are Type of content and Creator of content
- Sorting options are Date Created, Date Updated, and A-Z
-
- A button to subscribe to the channel to receive updates when new content is added
- A button that takes the user to the original channel page.
Please note that external content will not be presented on those channel pages.

On this new page, admins of the channel have the ability to customize the look and feel of it by choosing a unique custom background and emoji that is displayed above the content. This allows for a much more visually appealing page for users.
Channel Subscription:
- When subscribing to a channel, the user will receive notifications every time new content is added
- If a user unsubscribes from a channel, they will no longer receive notifications
- When invited to a private channel, a user will receive a notification and email to accept or decline the invitation

.png?width=688&height=394&name=image%20(37).png)
💡 Need more help? Contact Support at support@junojourney.com.